Archive | fall planting RSS feed for this section

are we done gardening yet?

30 Sep

It is not in doing what you like,

but in liking what you do that is the secret to happiness.

Sir James M. Barrie

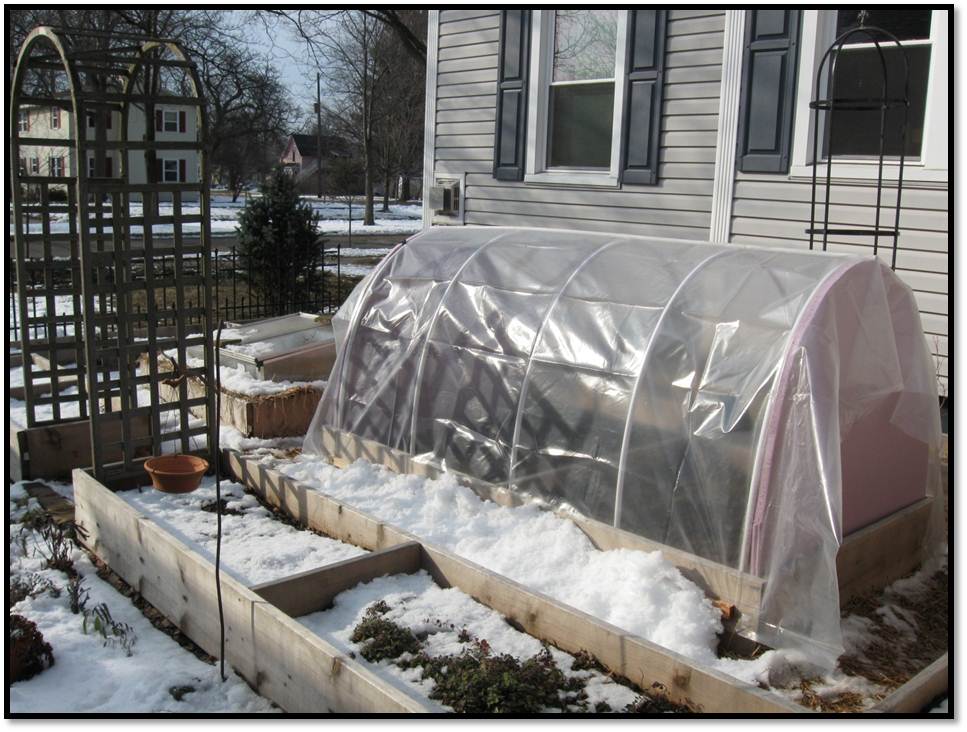
It is the last day of September and I have to admit, after gardening this past summer in the dust, I’m looking forward to a long cool autumn to re-energize my overheated body and sun-leathered skin. Some gardeners that I have talked to over the past few weeks said they gave up long ago on their gardens. “Too hot! Too dry! Maybe next year.” I detected slight sounds of guilt in their cracking, squeaking, high pitched voices. In the community garden I belong to, many people abandoned their garden over the summer. I’m so confused. How could anyone give up on gardening? I didn’t know that it ever ended. Could these just be the crazy thoughts of an obsessed gardener? There must be a devil and angel gardener on my shoulders. I’ll be the first to admit, I wanted to give up too, but something (or someone) kept me going. “Patti…you need to go out in the garden…you will know what to do when you get out there.” These were some of the whispers that would haunt my ears. Ok, alright! I would go out, and before I knew it, hours would pass. I lose track of time, and get lost in the many things that occur in this amazing world. For me, gardening is never done, and this is the best time of year to prep the garden for next year. Here are a few things to remember to do this autumn before you decide to hang up your shovel for the year.

  • Weed, weed, weed! Perennial weeds are growing like gangbusters and will spend the winter months sending their roots deeper into the soil. Make sure you remove all weeds! Annual weeds have flowered and set seed. You don’t want these to disperse in your garden. The key to eliminating weed problems is to clean, clean, clean!
  • Aerate the soil. This can be done with a spade or fork. Gently lifting the soil while weeding or adding amendments will be sufficient. You could also use a shovel, broadfork, or small tiller.
  • Amend the soil. Autumn is the best time to add bone meal, greensand, and rock phosphate which will improve soil fertility in a sustainable earth friendly way. Follow directions on the bag for amounts. You can find this in local garden centers and nurseries. Save composting for spring time.
  • If you experienced a drought this past growing season, it would help to water your garden. Hopefully we will get a good snow this year to help build the low soil water content.
  • Get your soil tested. Now is a good time to get your soil tested by your local county extension. This can also be done in the spring. Be consistent from year to year. If you have it done in the spring, then continue to do so.

So, to answer the question, “are we done gardening yet?”.

The answer from me is, “NEVER!”

Happy Autumn Gardening!

Garlic Anyone?

23 Sep

While shopping at your local farmers market, pick up few extra bulbs of garlic from your favorite organic farmer to plant at your urban farmscape.  Garlic is an easy plant to grow, and not only will you harvest your crop at the end of next summer; you will get a bonus crop of garlic scapes in the spring. 

Assorted Garlic and Scallions

Now is the time of year when I plant my garlic.  It grows best in nutrient poor, sandy-loamy soils.  I have grown it in full sun and this past year I grew it in part shade which did very well.  I harvested about late July, early August and after curing, saved what I thought to be the best to grow for next year. Basically, there are two types of garlic, hardneck varieties, and softneck.  The softneck varieties are used for making garlic braids.  Hardneck varieties will store longer.  You choose what you want to grow.  I grow mostly hardneck varieties.

I learned how to grow garlic when I grew over then varieties at my country farm after reading a book by Ron L. Engeland,  “Growing Great Garlic”.  You can get his book too, but for starters, here are some general steps to get your prepped for planting.

  1. Select firm, hard bulbs.  They should be free of damage or soft spots.  Bigger is not always better.
  2. “Pop” the cloves by holding the stem with one hand, turn while holding the bulb in the other.  If you are good,

    Single clove. Plant with the pointed part pointing upward to the sky.

    this should separate the cloves from the stem.

  3. Plant each clove about 2 inches below the top of the soil.  This year I planted the cloves about 4 inches apart.  The beds they were planted in were two feet by four feet, which was about nine clovers per square foot.  I planted four beds.  That was a little too much, but I do love garlic!
  4. Mulch with straw, about two inches thick. 
  5. Water through freezing temperatures.

In the spring you will begin to see garlic growing, and as soon as the weather warms up, it will grow many leaves.  Soon, a stem will rise from the center, and a pointed flower bud will form at the end of the stem.  This is called the “scape”.  When in curls, you know it is time to remove it.  These scapes are delicious when sautéed in some butter. With their mild garlic flavor, this is a real spring treat.  Allow the garlic to continue to grow until later in the summer.  You should then allow the soil to dry out, and as the leaves begin to turn yellow and dry, you know it will soon be time to harvest.  Ron says in his book to harvest the hardneck varieties when only 5 leaves remain.  The softneck varieties can dry a little more. 

Scapes…YUM!

Follow these general steps for harvesting and storage:

  1. Harvest after about half of the leaves dry out.  Brush off soil, do not wash.
  2. Tie together in bunches and hang in a dry, airy, shaded location, such as a garage or car port. 
  3. Allow to cure for at least two weeks.
  4. Clean garlic by removing dirt and the outer most paper.  Each papers are dry leaves.  If the papers are thin, or few, and the cloves have separated, use these for cooking first as they won’t store very well. 
  5. Cut stem and roots.
  6. Store in a cool dry location.  I have kept garlic in my kitchen cupboards where I keep other herbs and spices. 
  7. Save your best bulbs to plant in the fall.

Beautiful and probably tasty. I’ll save this one for planting.

It’s worth dedicating a little space in your urban farmscape for garlic, or even try other edible bulbs like scallions .  You will find that they are easy to grow, and that the most flavorful garlic will come from the unique varieties that you grow.  One of my favorites was given to me by a friend years ago, and I have been growing it ever since.  I don’t know anything other than it is a hardneck variety, similar to  Chesnok Red or Music.  Deliciososo!  A one-time small investment by you and then shared each year as a gift to friends will provide you with a lifetime of garlic and happy friends.  I am going to pickle some garlic this year for the first time.  Anyone have a good recipe they would be willing to share?

Building a Cold Frame

16 Sep

I was driving around northern Michigan today and noticed some of the leaves starting to change color. Then I realized that with the first frost date rapidly approaching, it was time to think about protecting my garden. Plants such as basil and peppers won’t tolerate temperatures below 50 degrees Fahrenheit let alone a frost. I suddenly felt the urgent need to harvest everything before it was too late.

You can extend your growing season long into the fall, maybe into winter in a small unheated greenhouse or cold frame for some crops such as carrots, beets, spinach and arugula. Remember how early spring came? I got so tired of covering and uncovering plants. Hot, cold, hot cold. Well, nighttime temperatures are what you need to pay close attention to now, and the covering and uncovering is about to start again. If it is going to dip down below that magic 50 degrees, protect your warm season vegetables like tomatoes which can tolerate an occasional dip, but then you will start to notice how the fruits stop maturing and they aren’t turning red. Best to pick them and make some fried green tomatoes. If you want to seriously continue to garden and save what you can, you can build a simple cold frame. WARNING!!! You can now cook your cool season crops on a sunny day. So not only do you need to keep them warm at night, you need to keep them cool on a sunny day. For now, protect with newspaper or lightweight fabric such as a frost cloth which is available from Johnny’s Selected Seeds. Protect this way on these occasional frosty nights, and prepare for colder temperatures by building a simple cold frame like I did here.

I cut 1/2 inch PVC pipes 10 feet long. Since my beds are raised it was easy to push them into the ground on one side. The bed that I am working on is 4 feet by 8 feet. I have equally spaced 5 PVC pipes (you only see part of it here).

I bent the PVC around and pushed into the ground on the opposite side of the bed.

I secured the PVC to the inside of the raised bed using this galvanized piece.

Then I used zip ties to secure an 8 foot pipe to the top. I would recommend adding a screw to prevent it from sliding down the sides.

Cover with poly. Here I used a horticultural grade poly that I had left over from a greenhouse we built at our farm. You can buy this at greenhouse supply companies or catalogs like Farm-Tek. More light penetrates, which is important for plant growth and development.

Notice how transparent it is.

This was an inexpensive alternative using painters plastic from the hardware.

For finishing touches, you can use scrap pieces of wood screwed to the bed frame to secure the poly at the bottoms. I used pink foam insulation pieces for the ends to make it easier to remove on sunny days to prevent the temperatures from getting too high.

This was the simplest and most inexpensive way that I came up with to make a cold frame. There are many other options to explore whether you want to protect your crops, extend your season, or get a jump on next year. Click on the Grow Veg link to the right, or below on the links to go to Amazon for my favorite books to learn more. Or the last link to a Juwel Cold Frame like the one you see in the background of the above picture. This is one of my favorite cold frames. Just ignore the snow for now. We still have a lot of time before that gets here.

Four-Season Harvest: Organic Vegetables from Your Home Garden All Year Long

The Year-Round Vegetable Gardener: How to Grow Your Own Food 365 Days a Year, No Matter Where You Live

Juwel Cold Frame 1000

Garden Do Over

22 Jul

“If I could do it over again….” That’s what I’ve been hearing in my garden conversations this week. The second part of the sentence is usually, “well there’s always next year”. Whether you are experiencing draught conditions, floods, weeds, bugs, diseases, overgrown plants, flopping tomato plants, gigantic zucchini or maybe you are just tired of the heat, don’t stop now. It’s time to plant again! Hooray! Right? Okay, maybe you aren’t as excited as I am with the thought of starting another garden in July, but really, it’s time to sow seeds for your autumn or winter garden. I know, I know, you are TIRED of working in the outdoors in temperatures over 90 degrees. Urban Farmerscapers don’t have the option to stop farming, just like our full time farmers don’t have the option to stop growing food for us. So, here are a few tips for your Garden Do Over.

Roma tomato before pruning

Stake and Prune. If you haven’t already, stake and prune any tomatoes or climbing veggies. Consider this the “Last Call”. Don’t be afraid to cut off the lower branches of tomatoes to ensure they stay up off the ground. If you are growing indeterminate types, the use of a stake is best. The taller the better. Prune all lower branches up to the first set of buds, or maybe fruit by now. Farmers are using trellising techniques that can hold these tomatoes up so high that a ladder is needed to harvest!

Roma tomato after pruning

Remove plants. There’s nothing wrong with pulling out a plant that has taken over or has gone to seed. I should have never planted this Clarey Sage in the space that I did, but I never grew it before, so I didn’t know better. We learn from our mistakes. I harvested the seeds and now I have space to plant some Cilantro or Parsley! Much better choices for My Urban Farmscape.

Harvest efficiently then replant. As soon as you are done harvesting all of the fruit in one area, prepare for your autumn garden. You should add equal amounts of greensand, colloidal rock phosphate, and blood meal. I use 5 pounds of each for every 100 sq ft., adding half at spring planting and the other half in the summer. Also add compost at this time. Then after “resting” for a week, re-plant you fall crop, making sure not to plant something from the same family. Here is a list of plants by family for your reference, along with notations for what you can plant in the fall.

Vegetables by Family

Plant a cover crop. If you have decided that your Urban Farmscaping days are over this year, then make sure you plant a summer cover crop to build soil and help eliminate weed volunteers. A good one is soybean, and for later, as the season cools, you could add some clover. Then make sure you shop at your local farmers market each week.

Eat your veggies!

Take good notes. I hope that you are taking notes of what worked, what didn’t, what you could do next year. I make comments on each plant, how it performed, how much I harvested from each plant, how many plants I planted, what varieties, disease or insect problems, dates of planting and harvesting. But most important, I write notes on whether it tasted good or not. That’s why we garden right? YUM! It’s full swing harvest season! How could you call it quits? Maybe you don’t need to do a whole do over, but maybe a spruce up and a re-plant. Need more inspiration? Read my post from exactly 6 months ago, January 22, 2012 titled “Winter Carrots”. YUM! Here’s a quick link.

https://myurbanfarmscape.com/2012/01/22/winter-carrots/

%d bloggers like this: